Adding/Replacing Logos in Client Portal Settings
To change your logo in the Client Portal, there is a known issue involving the cache. Please follow the instructions below to change your logo.
1. Login to the Client Portal as an Administrator.
1. Login to the Client Portal as an Administrator.
2. Choose Settings.
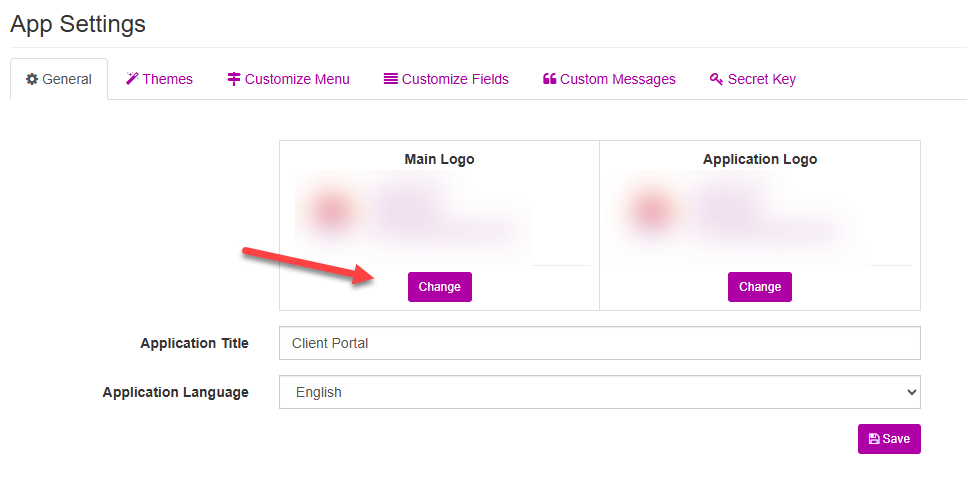
3. In the right pane (App Settings) choose the General tab if not already selected.
4. To change the Main Logo, click the Change button.
5. In the Change Main Logo window that appears, click the Browse button.
5. In the Change Main Logo window that appears, click the Browse button.
6. In the Open Windows Explorer window, browse to the location and select the image file. Click Open.
7. Click the Save button in the Change Main Logo window.
8. Clear the Browser Cache (Ctrl+Shift+Del).
9. In the window that appears, clear at minimum the last 15 minutes of browser history. See Google Chrome example below.
10. Return to your Client Portal browser tab and click the Save button in the App Settings | General tab.

If you also wish to change the Application Logo, you will need to follow the same instructions, ensuring you have cleared the cache before saving. If you do not follow these steps, or attempt to update both logos at a single time, it will maintain the original logo.
If you have further questions or concerns, please contact the TEA Support Desk at 1-800-354-5152 or support@commongoals.com.
Related Articles
Unable to open TEA after logging into the ASP Environment: Requesting PIN Message
If you are attempting to open TEA 10 after successfully logging into the ASP environment and are being prompted to enter a PIN in a Windows Security pop-up window, you will need to do the following: 1. Click the More choices link as shown above. 2. ...How to enable cookies in my browser?
You can enable cookies to improve the quality of your Internet experience. Follow the below steps to enable cookies. Mozilla Firefox Open your Firefox browser. Click More(☰) > Preferences. Select Privacy & Security from the left panel of options. ...